Texture Painting in Blender
Whenever we want to create a realistic object or scene, it is important to use quality references in order to recreate the look. Usually when texturing an object, high quality images are introduced as texture images. This process is well known and widely used to achieve a fast and realistic aspect to the object.
Although it is a common practice, one disadvantage of this method is the memory it occupies on the drive when working with 2K, 3K ,4K and even 8K images. If we would import images as textures in a complex project with a high number of objects, the final file will be very large and take up too much space. Not to mention that it will increase the render time.
Another disadvantage of using image textures is the lack of freedom to personalize the aspect of the image. If, for example, we would want to introduce our own logo on a mesh that already has an image texture applied to it, it would be difficult to overlap it.
One way to avoid this problem is by painting the textures directly on the meshes.In the process of texture painting, multiple layers can be created and overlapped in order to create the desired final aspect. In this article, we will go into detail about what exactly is texture painting and how we can use this tool to create several personalised textures that can be placed with ease on multiple objects that have different shapes and sizes.
Texture Painting is a built-in mode in Blender that allows us to easily modify the UV texture of a mesh. Texture Painting is ideal whether we need just a few simple lines or a complicated logo painted on a specific part of the mesh. There are a few steps that need to be followed in order to do it. This article presents all the necessary steps in order to paint an external image onto the mesh. The article also presents a method to create curves on the mesh using the brush tool.. The first step in both cases is:
- Preparing the mesh.
First, apply the scale of the mesh. In order to paint the mesh, we need to assign a material and UV unwrap the texture. Then we add a texture slot with the base colour. This base colour will be applied on the entire mesh so we need to be sure it is a neutral colour or a specific one that we want. If we do not add a texture slot, when we go into Texture Paint mode, we will get an error saying the texture is missing:

It is useful to also know the hexagon code of the base colour just in case we need to use the normal base to blend in certain shapes or even cover up parts of the mesh. We can now dive into detail in the steps needed to paint an image texture.
2. Preparing the external images.
Depending on the project, we may need specific logos, icons or drawings of objects to add on the mesh. These images can be downloaded from the internet, sent by a coworker or we might make them ourselves using software like Gimp, Photoshop and so on. An important thing to keep in mind is the quality of the image used. A low resolution image will appear pixelated on the surface of the mesh and even have discoloration in the margins of the image. An example of this is shown in the photo below.

From afar, the pixelation is not very visible. Only when we zoom into the object the effects are visible. In case the object is not a main mesh that needs to be rendered, we could get away with it but in general, it is preferred to have good quality texture painting. This effect is present on both the low-poly object and the high-poly object. Unfortunately, increasing the poly count will not solve the solution of a low resolution image.
The transparency of the background is important as well when the image is composed of multiple objects or words. If the background is set to a specific colour, the strokes of the brush will be visible and show up on the mesh like in the following image:

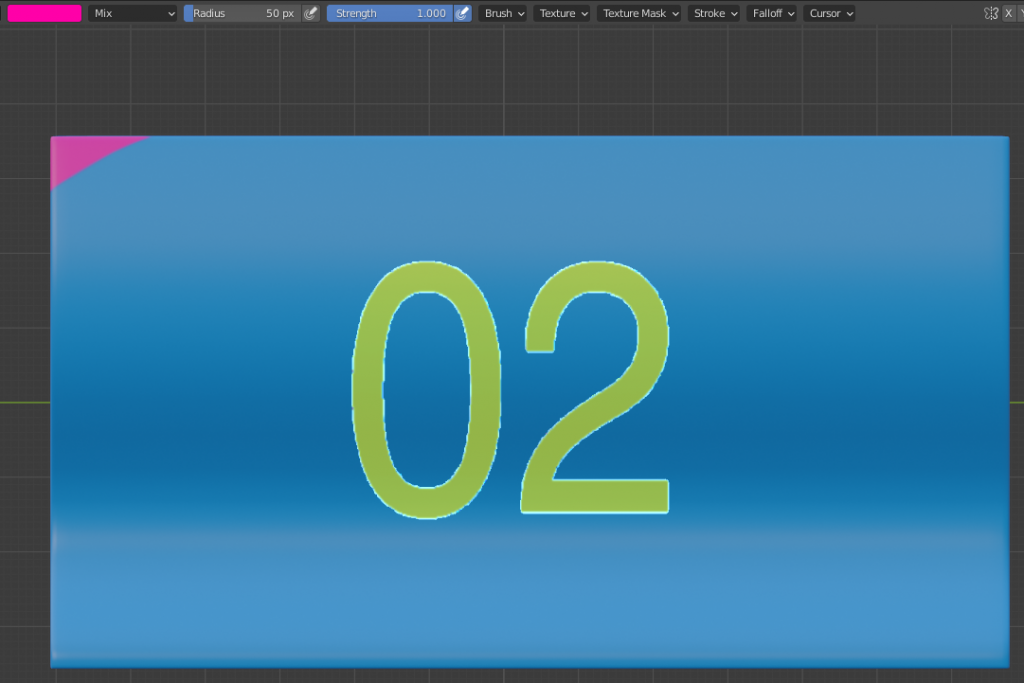
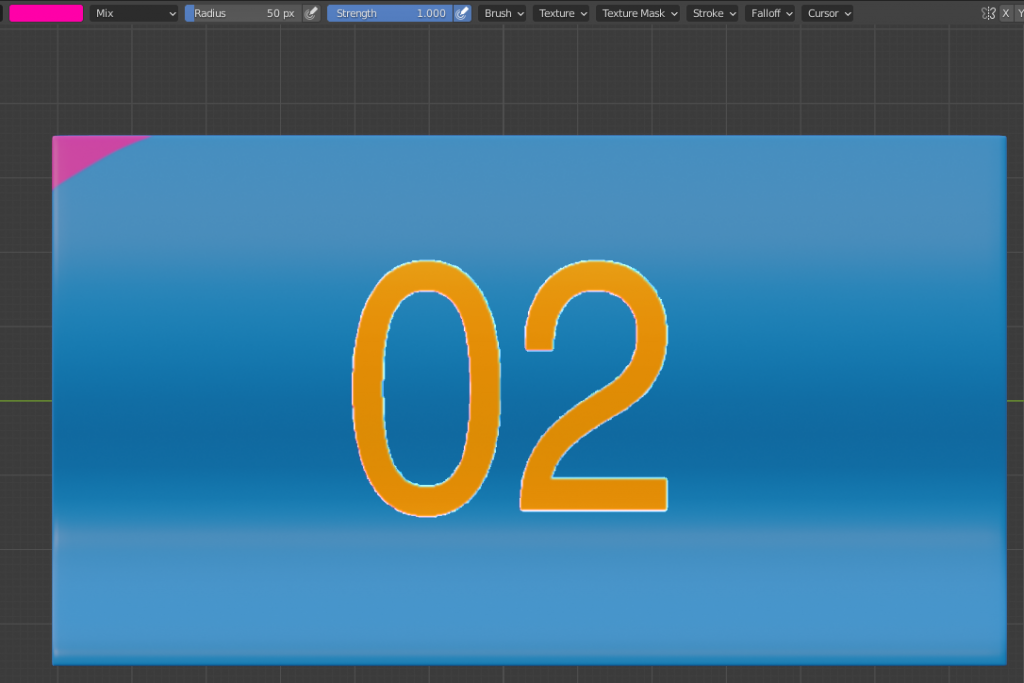
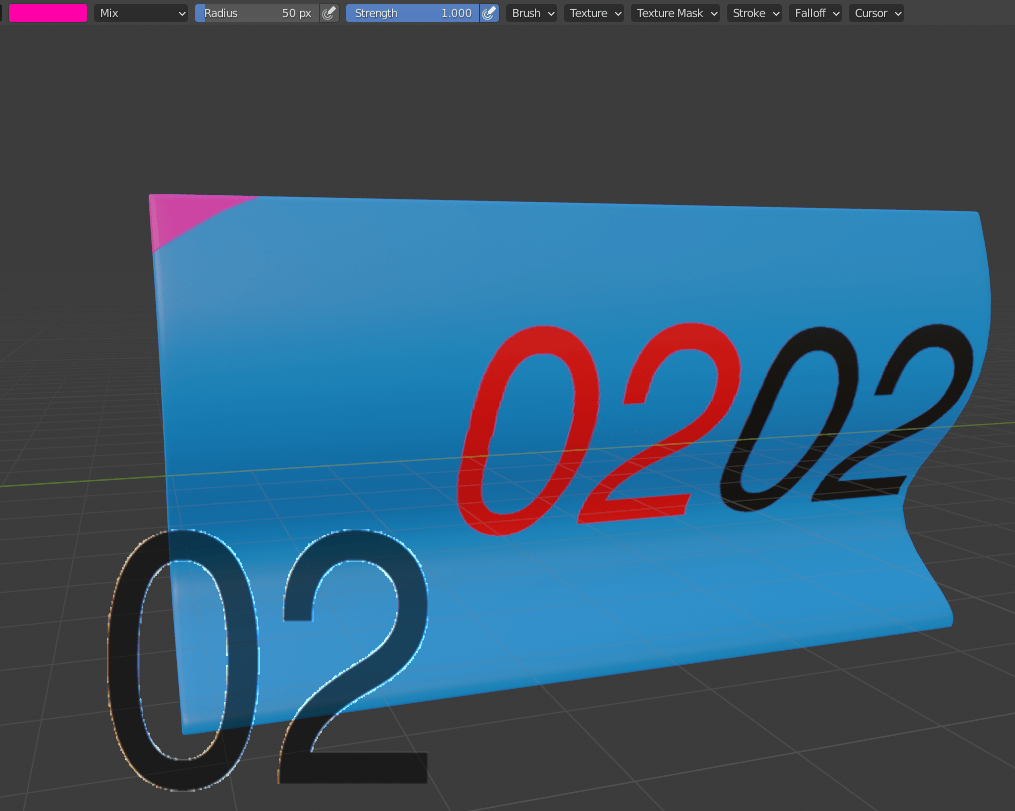
A solution to this issue is to fill in the rest of the mesh with a normal brush. Another problem that can occur is a mixture of colour from the image texture with the colour of the brush. In the example below, a yellow-coloured image texture is used. The outlining is presented in image X.a. The image texture is applied on the blue base coloured mesh with a pink brush in picture X.b. The result is presented in image X.c where the colour combined resulted in a bright red surface.

To avoid this situation, we can work with a black or white version of the same image. The result and comparison is shown in the image below.

This method is very useful and can save a lot of time. We also have the opportunity to create the texture in Blender as long as we don’t need a high level of detail or complicated pattern. However, any texture created in Blender needs to be saved in an external folder of the current project or by pressing ¨Save all images¨ so we do not lose our work.
3. Texture painting using images
After we have prepared the model, the next step is to go into the Texture Painting tab and add the Texture slot. We can select the option “Base color” which, as previously mentioned, will cover the entire mesh.
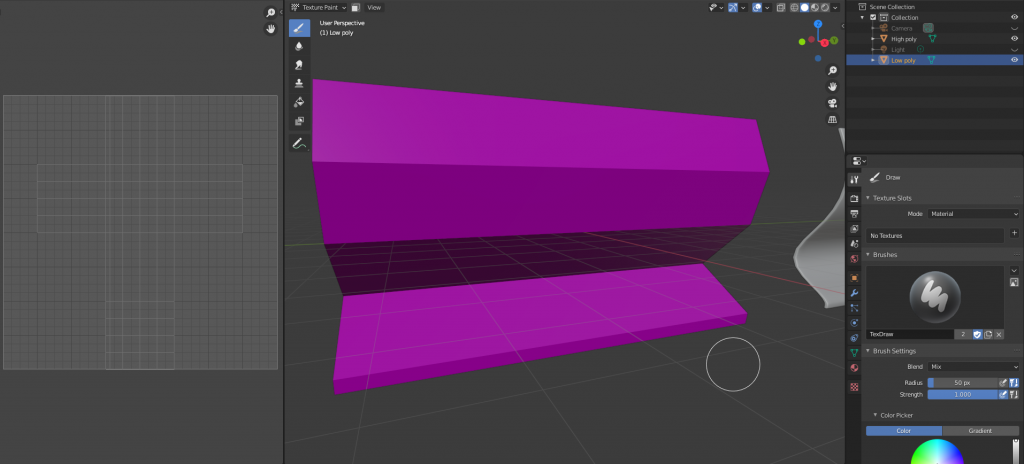
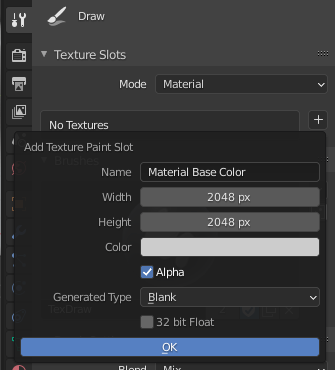
In the texture properties we can add a new texture, this is where we import the image needed to be painted on the object.
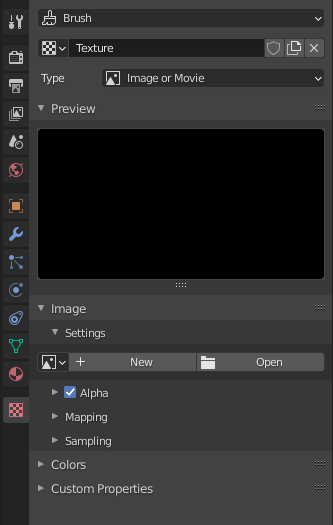
We can go back to the Active tool and see the image loaded into the texture slot.
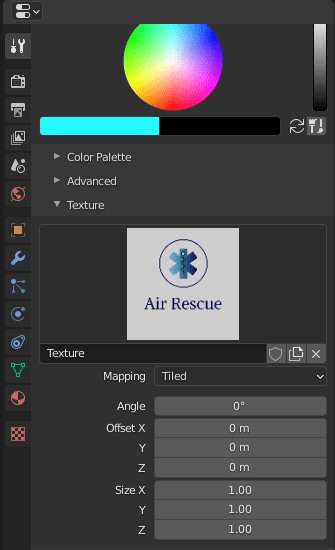
By choosing the Mapping type as Stencil, the image appears on the 3D view port where we can position it, by dragging it with the right mouse button, scale it, by pressing the Shift key and dragging the right mouse button and rotating it by pressing the control key and dragging the right mouse button.

We can simply paint onto the image and instantly notice the slight change of colour that signifies the transfer of the colour onto the mesh. In the example presented above, the image is not of a high resolution, less than 2K, for that reason we will notice pixelation once we zoom in even slightly on the mesh.

The difference of the quality can be seen in the next image where we used a 4K resolution image to paint a brick texture onto the mesh.

We can combine and overlap multiple images in order to create different effects. In this specific example, a graffiti image texture was added on top of the brick texture.

Texture painting is a powerful tool that can help us create multiple creative surfaces.
4. Creating the curved lines
Making curve strokes with the brush can be very useful and easy to modify. The first step is add a material to the mesh and then a texture slot with the proper base color. By scrolling down, we will encounter the Stroke bar where we will create the desired curve by selecting the Stroke Method to Curve and creating a New curve like in the image below:
In order to draw the curve, control points need to be added to define the shape of the curve. This is done by pressing the Control button and right-clicking the mouse button. The number of control points is determined by the shape of the curve needed. To have more control of the point, we can use the handles that determine the angle and size of the control point. The handles are visible if we drag the mouse button while adding the control point.
The placement of the points can be changed by right-clicking the point and dragging it to the desired place. The paint layer is added by pressing Enter, the size and colour can be changed in the top bar of the brush settings.
To undo a drawn curve, simply tab Control Z two times and the curve will disappear. At this point we have the option to either create an additional curve if needed or change the placement of the control points, the colour of the brush and the size in order to create different curved lines. After adding the curve, we have the option to fill in the rest of the mesh with the desired colour by using the normal brush.
Texture painting is a very useful tool that can help speedup the texturing process and also minimize the number of images used in the final project and therefore, minimizing the memory space used. In order to be more productive and efficient, we can also use some small tips to make the texturing process go more smoothly.
Tip 1: Restrict the painting to a specific part of the mesh by enabling the “Face select mask”, deselect all by pressing “A” and box select the desired area.
Tip 2: To undo a curve, press Ctrl + Z two times.

